> ## Documentation Index
> Fetch the complete documentation index at: https://docs.loopz.ai/llms.txt
> Use this file to discover all available pages before exploring further.
# Customizing Your Widget
> Make your chat widget match your brand
Make your chat widget match your brand and provide a seamless experience for your customers.
## Appearance Settings
### Brand Name
The name shown in the chat header (e.g., "Sara | Your Shopping Assistant")
### Primary Color
Choose your brand color using the color picker or enter a hex code (e.g., `#7C3AED` for purple)
Use your brand's primary color to maintain consistency across your website.
### Agent Avatar
Upload an image or avatar for your agent that appears in the chat. This helps personalize the conversation experience.
### Widget Position
Choose where the chat button appears on your website:
Bottom-right corner (most common)
Bottom-left corner
Bottom center
## Popular Questions
Add up to **3 quick-action buttons** that appear in the chat widget to help customers start conversations quickly.
### Example Buttons
* "What's new?"
* "Track my order"
* "Contact support"
Quick-action buttons increase engagement by making it easy for customers to start a conversation.
## Live Preview
As you make changes, see exactly how your widget will look in the **real-time preview** on the right side of the screen.
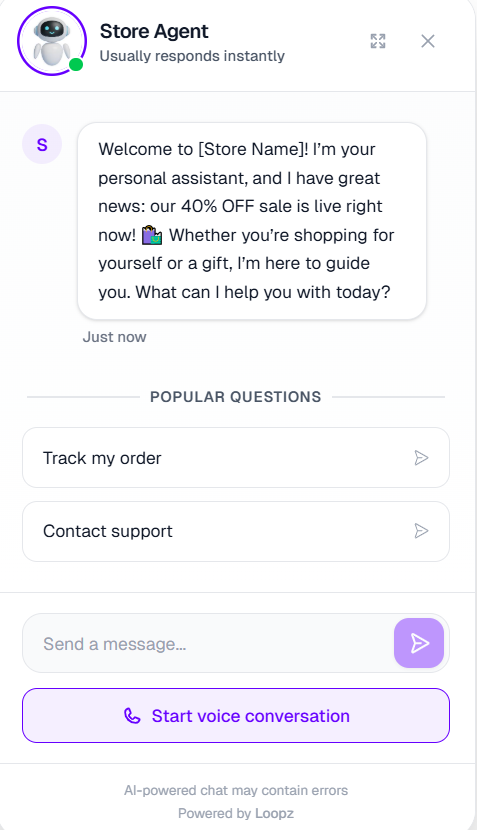 Always test your changes in the live preview before deploying!
## Next Steps
Add your agent to your website
Link Calendly, Zid, WhatsApp, and more
Always test your changes in the live preview before deploying!
## Next Steps
Add your agent to your website
Link Calendly, Zid, WhatsApp, and more